Roasting a whole turkey is a Thanksgiving tradition, but let’s face it. Sticking the landing when it comes to making a “perfect” turkey takes a lot of skill and luck. You’re either chewing endlessly on dry meat or hoping that last bite was cooked through. I am fairly certain this is why we don’t make turkey any other time of the year.
What if there was a better way?
Breaking down your turkey into individual pieces before cooking it makes it easier to season, store, and cook. It also saves refrigerator space, reduces cooking time, and lets you remove each piece from the oven when it’s perfectly done. Plus, your turkey will be so good it will drive your family and friends into fits of jealous rage. That’s right, rage.
Why Break Down Your Turkey?
A whole turkey takes up a ridiculous amount of refrigerator and oven space. Breaking it down solves several problems at once.
- Faster cooking: Smaller pieces cook faster than a whole bird.
- Better temperature control: Breast meat and dark meat cook differently. Separating them lets you remove each piece when it’s ready.
- Easier storage: Turkey pieces fit into gallon-sized bags or smaller containers, making refrigerator organization much easier.
- Simpler brining: Individual pieces are easier to submerge in brine or coat with a dry brine.
- More oven flexibility: You can arrange pieces across roasting pans instead of accommodating one enormous bird.
- Easier carving: Most of the difficult knife work is finished before Thanksgiving dinner.
And, this cannot be overstated, you get to make a beautiful broth with the carcass beforehand. Making the BEST gravy you could possibly have.
How to Break Down a Raw Turkey
You’ll need a sharp chef’s knife or boning knife, a large cutting board, and optionally a pair of poultry shears.
Make sure your turkey is completely thawed before beginning.
Step 1: Remove the Legs and Thighs
Place the turkey breast-side up.
Pull one leg away from the body and slice through the skin connecting the thigh to the breast.
Bend the leg outward until the hip joint pops out of its socket. Cut through the exposed joint to separate the entire leg quarter from the body.
Repeat on the other side.
To separate the drumstick from the thigh, locate the joint between them and cut directly through it. You should be cutting between bones, not through them.
Step 2: Remove the Wings
Pull each wing away from the body to locate the shoulder joint.
Cut through the skin and connective tissue, then separate the wing at the joint.
You can leave the wings whole or divide them into smaller sections at their joints. I will often put the wing tips in to make the broth.
Step 3: Remove the Breasts
Place the turkey breast-side up and locate the breastbone running down the center.
Using a sharp knife, make a long cut immediately alongside the breastbone.
Follow the natural curve of the rib cage, keeping your knife close to the bones as you carefully separate the breast meat.
Continue cutting until the breast comes free.
Repeat on the other side.
You can leave the breast meat attached to its rib bones if you prefer roasting bone-in pieces.
Step 4: Save the Carcass
Don’t throw away the backbone, rib cage, or other meaty trimmings!
These pieces are excellent for making homemade turkey stock, which you can use for gravy, stuffing, or soup. You wouldn’t believe how good pho is with turkey leftovers.
Brining and Storing Your Turkey Pieces
One of the biggest advantages of breaking down a turkey is how much easier it becomes to store.
Instead of finding room for a giant roasting pan or stockpot, you can divide the pieces into gallon-sized, food-safe resealable bags.
Place breasts, thighs, drumsticks, and wings into separate bags as needed.
For a wet brine, add enough chilled brine to cover the pieces, remove excess air, and seal the bags securely. Place them in a leakproof container in the refrigerator.
For a dry brine, season the pieces with salt and your preferred herbs, then refrigerate according to your recipe.
Food safety tip: Keep raw turkey refrigerated at 40°F or below. Use a food-safe brining recipe, and don’t leave turkey sitting at room temperature. Freshly thawed turkey should generally be cooked within 1–2 days, so plan your brining time accordingly.
Cooking Your Turkey in Pieces
Here’s where breaking down your turkey really pays off.
Instead of cooking one enormous bird and hoping everything finishes together, you can cook each piece according to its needs.
Turkey breasts generally finish faster than thighs and drumsticks, which contain more connective tissue and often benefit from cooking to higher temperatures.
Arrange your turkey pieces on roasting pans with space between them for airflow.
Use a meat thermometer to monitor each piece individually.
All turkey pieces must reach at least 165°F internally. Check the thickest portion without touching bone. Dark meat is often more tender when cooked to approximately 175–185°F.
Remove individual pieces as they finish cooking, allowing them to rest before carving.
This approach helps prevent the classic Thanksgiving problem: dry breast meat while you’re waiting for the legs to finish.
Is Breaking Down a Turkey Worth It?
Absolutely, especially if you’re cooking for a crowd or working with limited refrigerator and oven space.
You’ll spend a little extra time with a knife before Thanksgiving, but you’ll save yourself plenty of frustration on the big day.
The turkey is easier to store, easier to brine, faster to cook, and simpler to serve.
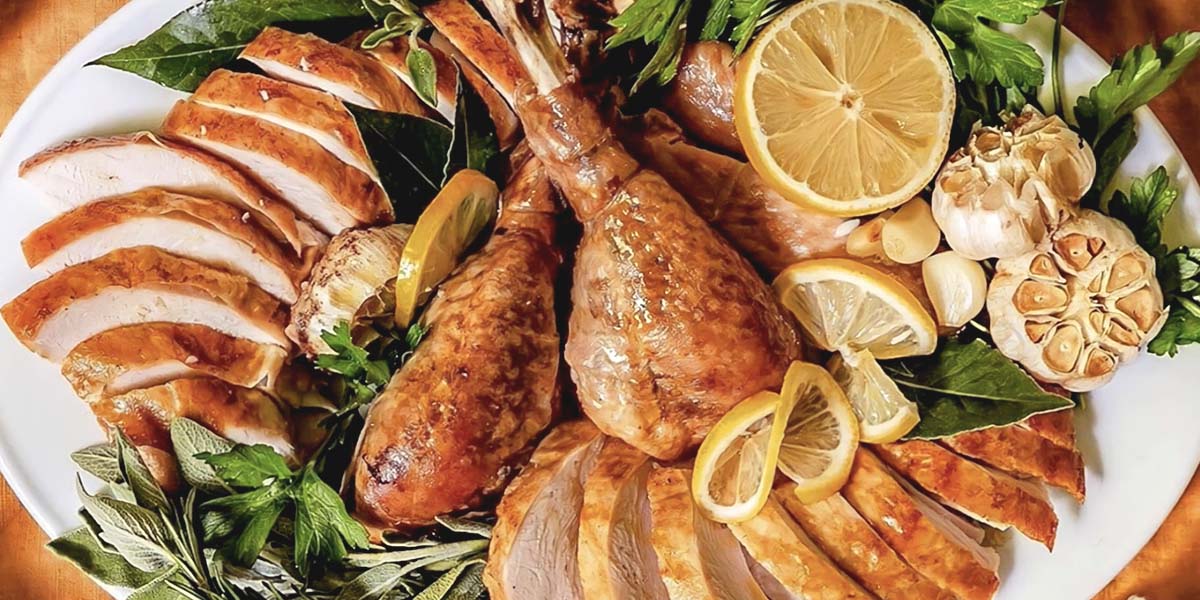
And once everything is carved and arranged on a platter, nobody will know you didn’t roast the bird whole.
Less wrestling with a giant turkey. More time enjoying Thanksgiving.